15 Winter Camping Tips
Winter camping is a unique experience that creates life-long memories. We love snowshoeing, building camps, and gathering with friends in our snow kitchens over steaming food and hot drinks. Winter camping might seem difficult at first, but it’s actually pretty simple and surprisingly comfortable with the right gear.
We hope these tips inspire you to get out and try winter camping for yourself.
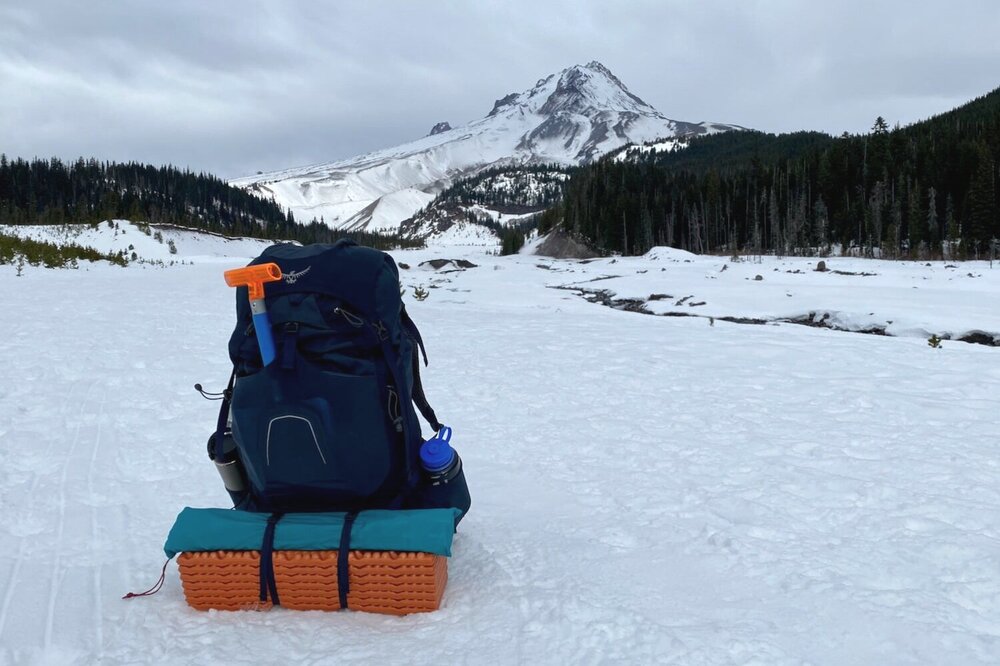
The Osprey Atmos Backpack has plenty of support and capacity for a load of winter camping gear.
1. Watch the forecast – It’s important to pay close attention to the weather and plan around it for a safe and successful winter camping experience. We prefer to find a string of days with clear skies or light snow. Sub-freezing temperatures can be great if you have the right equipment, but the key is knowing the limits of your gear and setting yourself up for success. Continue to monitor the temperatures, wind, and expected precipitation as your trip dates approach. If conditions look too intense, it might be best to reassess or postpone your trip.
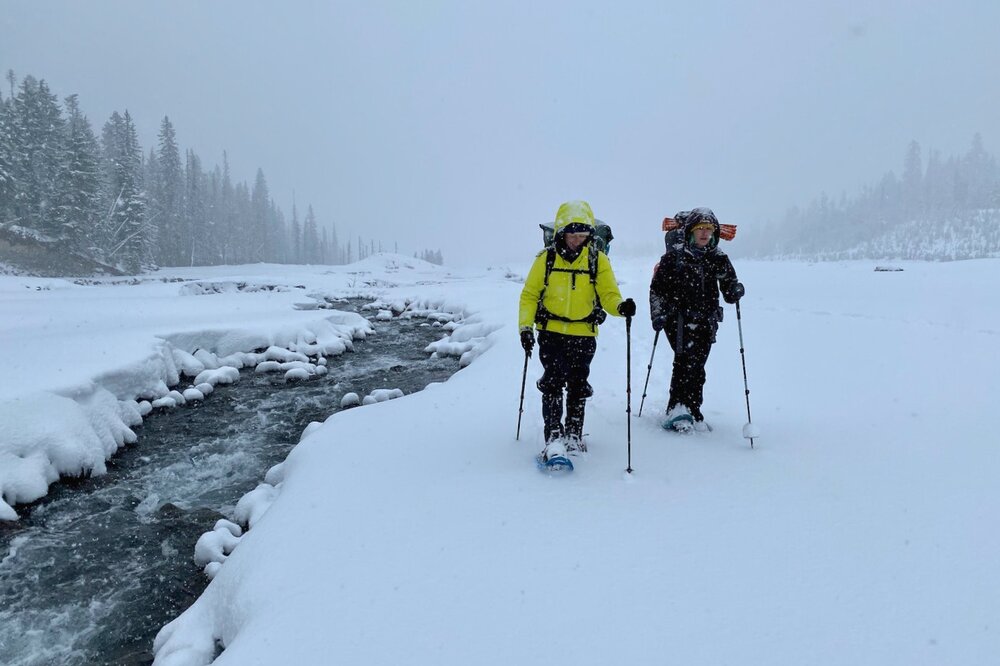
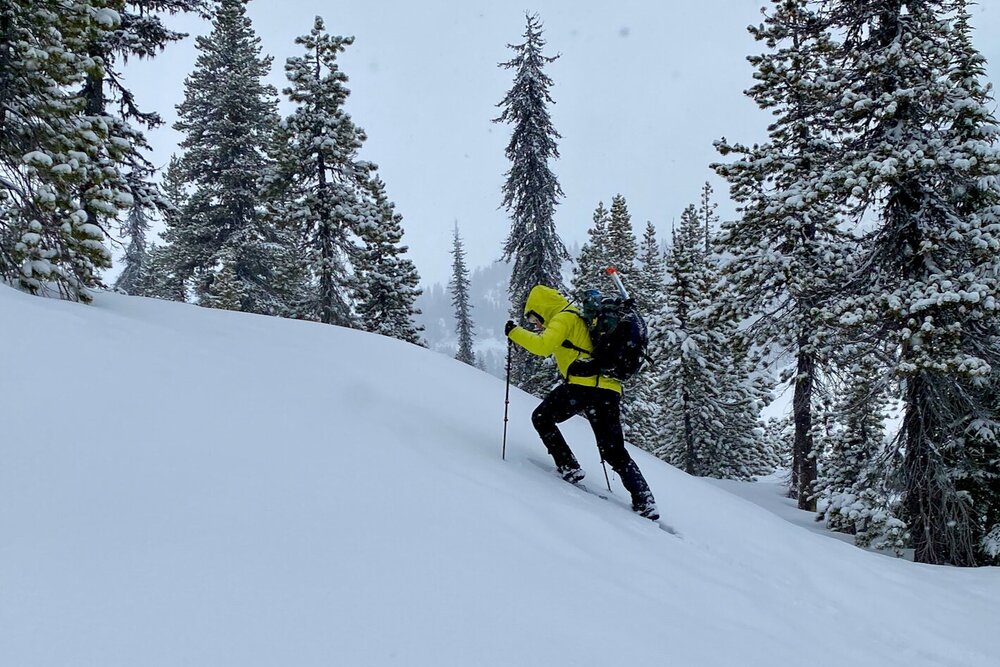
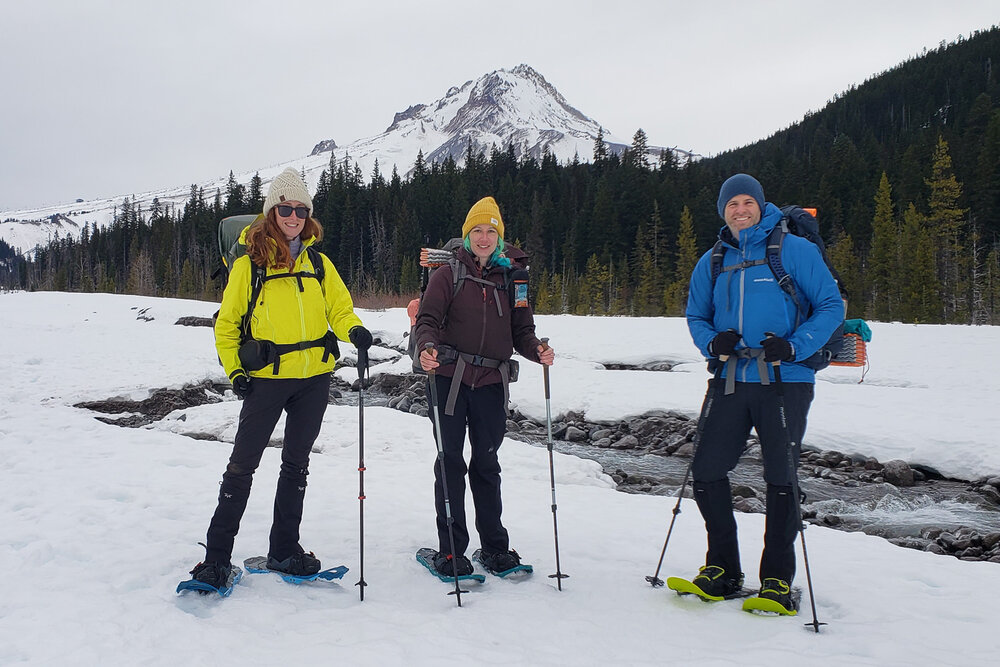
Snowshoeing with a backpack on is a ton of fun, but it saps energy quickly, so keep mileage goals short.
2. Keep trips short & sweet – It’s best to keep daily mileage goals short for winter camping trips, even if you’re in good shape. Trekking through the snow saps your energy quickly, and you’ll need to save some pep to build your camp when you get there. It’s usually pretty easy to find a beautiful, snowy place to set up a dispersed camp within a few miles in National Forests and wilderness areas. It’s also smart to keep the length of your trip short if you’re new to winter camping. One or two nights out is a good test, because damp clothing and gear gets tougher to manage the longer you’re out in the elements.
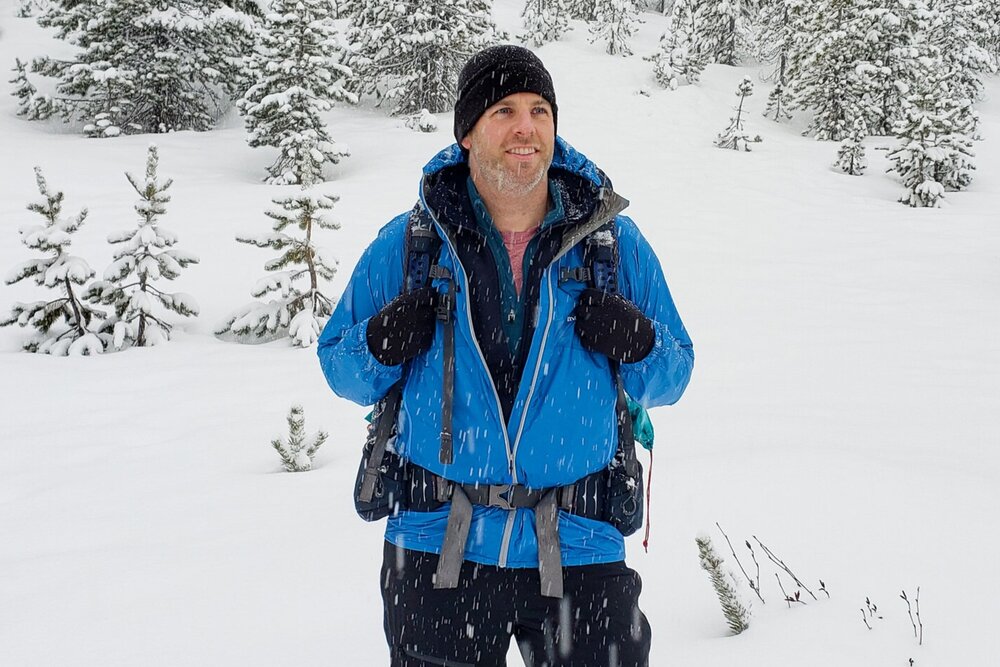
Dress in wool or synthetic layers so you can adjust your temperature easily when your activity level changes.
3. Learn to thermoregulate – Thermoregulation is all about awareness and knowing how to proactively manage your body’s temperature. Food, water, clothing, shelter, and physical activity are all tools you can use to increase your heat production and stay in control of your body temperature. Wear performance clothing that’s made with materials that dry quickly (like synthetics and wool) and layer so that you can add or remove items easily when your activity level changes. You’ll overheat quickly if you’re overdressed while active, so dress accordingly to avoid sweating. If you’re cold, it’s time to add a layer of clothing, get moving, or fuel your body with food or a hot drink. For more information on layering, head over to our Backpacking and Hiking Clothing 101 post.
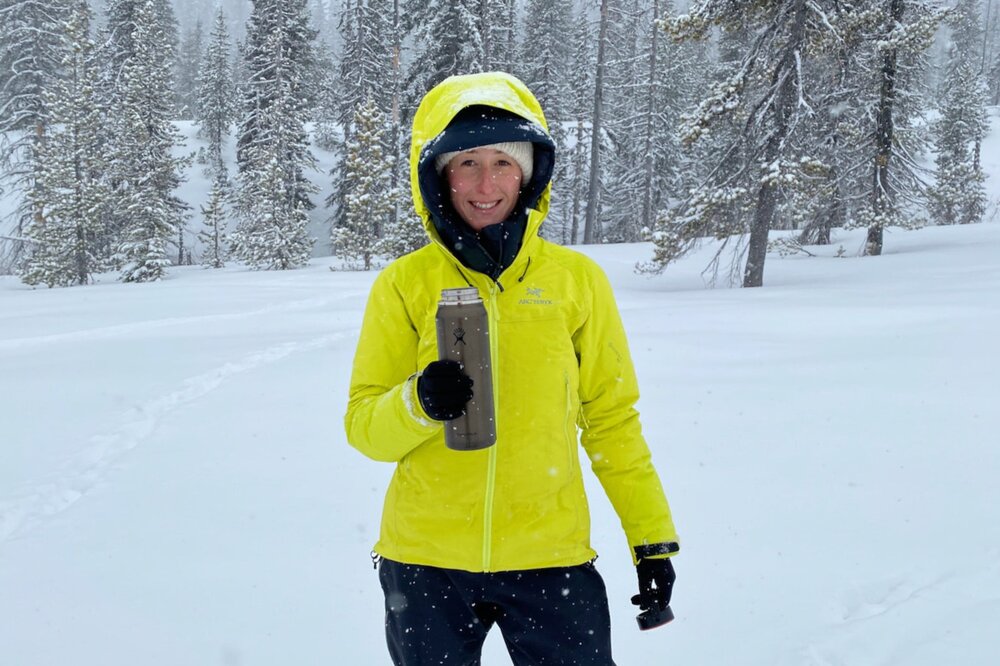
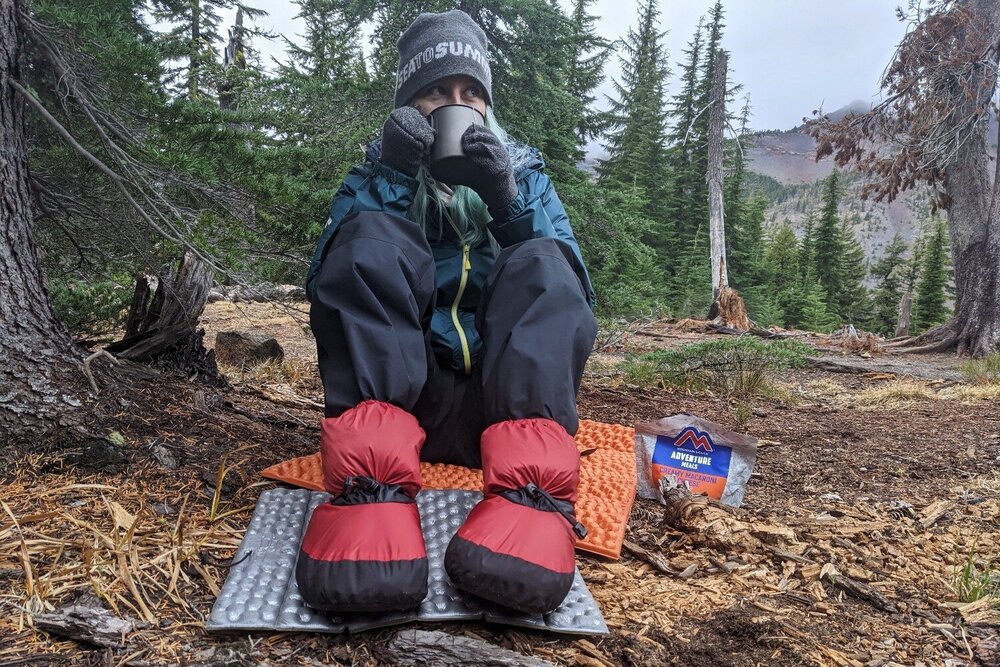
Sipping a hot drink is a great way to raise your body temperature and get your blood flowing when you start to feel chilled.
4. Know the signs of hypothermia – Staying safe and comfortable in cold conditions is easy, but it requires you to stay aware of what your body is feeling. Hypothermia is very serious, and occurs when the body’s core is losing heat faster than it can produce it. If someone is showing progressing signs of hypothermia like uncontrollable shivering, loss of coordination, or changes in personality, it’s time to get them to shelter to change out of wet clothing and hop into a warm sleeping bag.
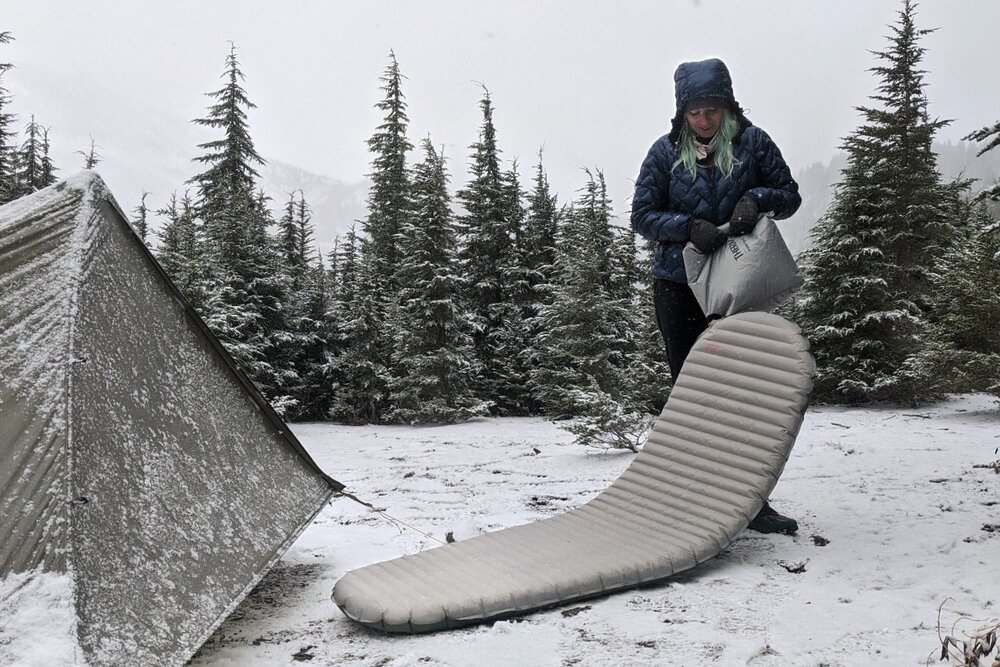
The Therm-a-Rest NeoAir XTherm is the best sleeping pad for cold weather adventures.
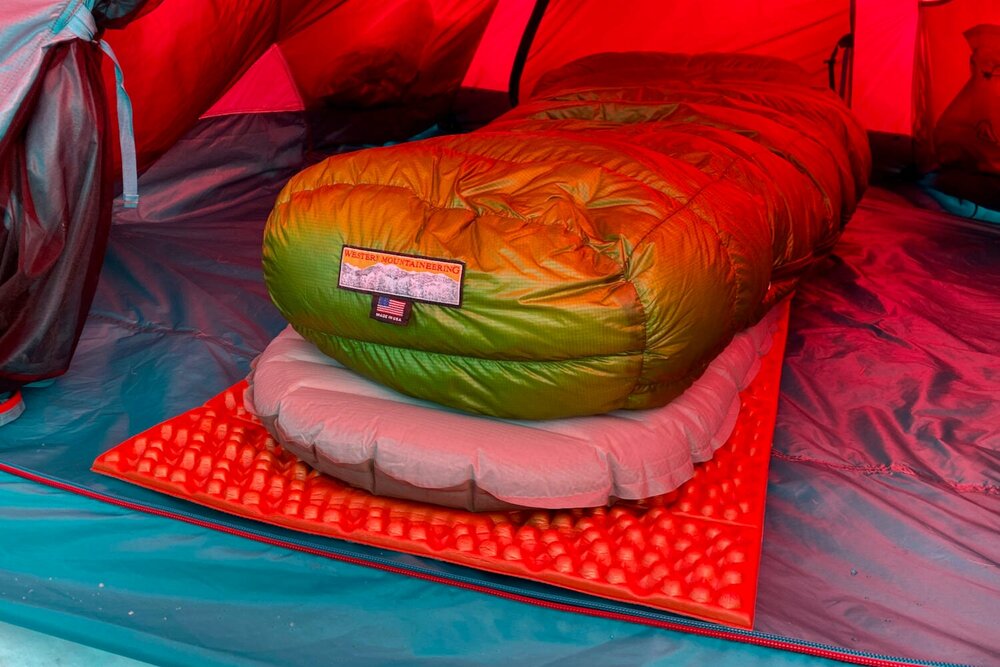
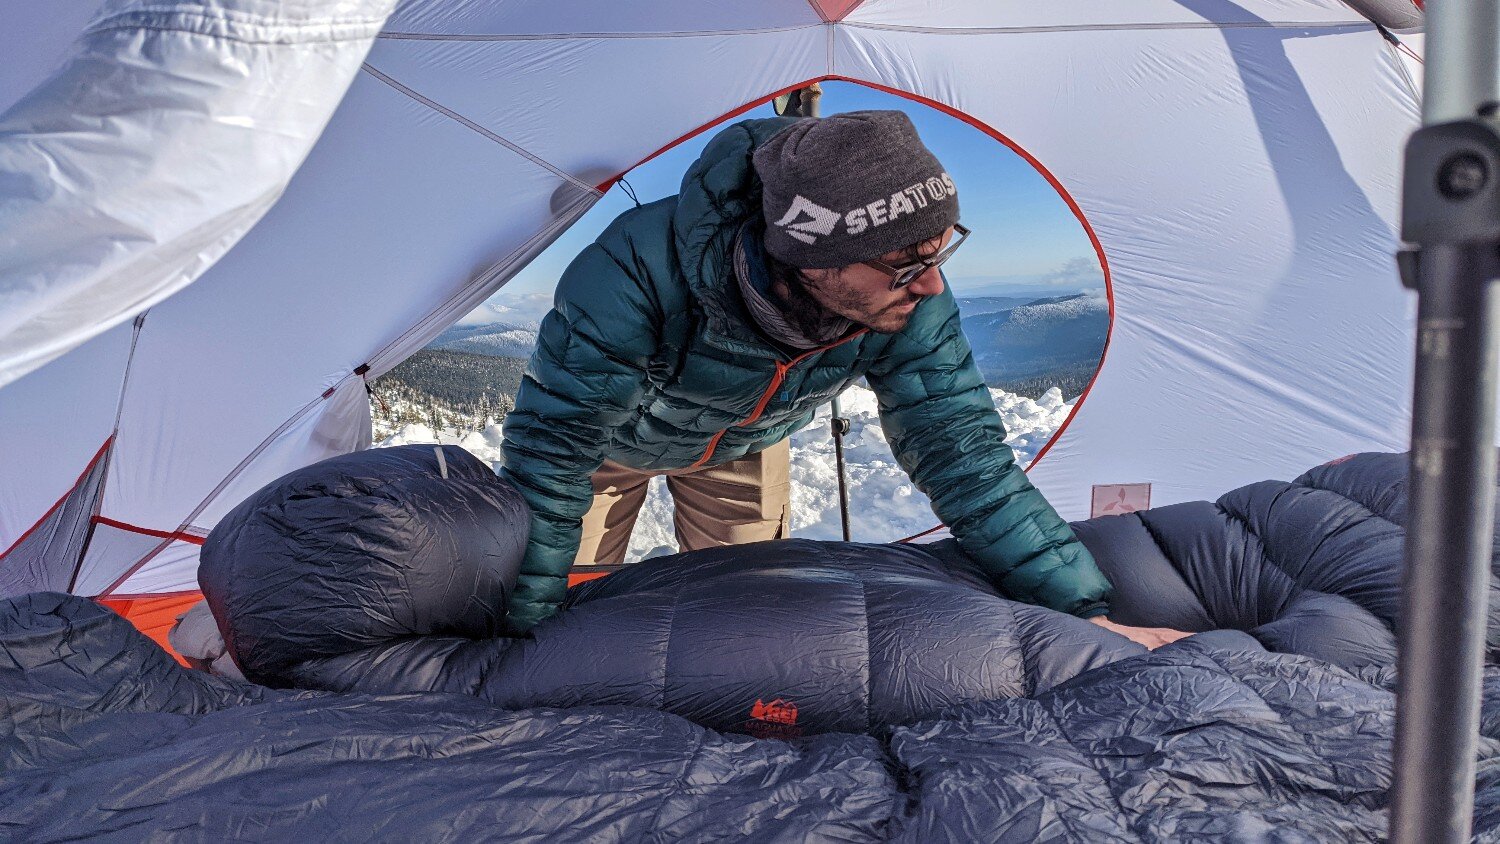
5. Check temperature ratings on gear – Since you’ll be sleeping on top of the snow, it’s more critical than ever to have an adequately warm sleeping pad and sleeping bag to insulate you on winter camping trips. Most sleeping bags use EN or ISO ratings, which are standardized systems that keep temperature ratings consistent across the industry. The number listed with most sleeping bags (example: Magma 15) is the lower limit, which is the temperature a warm-sleeper will likely still be comfortable. We find that the comfort rating, which is the temperature a cold-sleeper will typically still be comfortable, gives a much more realistic idea of how a bag will perform. If no comfort rating is listed, we usually estimate an extra 10-15° to the lower limit for sleeping bags. Choosing the right temperature rating isn’t an exact science, but looking at these numbers is a good place to start. We like to use the REI Magma 15 or Western Mountaineering Versalite 10F sleeping bags with the Therm-a-Rest NeoAir XTherm sleeping pad for our winter trips.
The Feathered Friends Down Booties are a comfy reprieve from your boots while in camp & they can be worn in your sleeping bag to boost warmth.
6. Boost sleep system warmth – Wearing a down jacket with a hood inside your sleeping bag will significantly boost your warmth. You can also sleep in base layers, a warm hat, gloves, and even your raincoat and pants if things get truly frigid. If your feet tend to get cold at night, down booties are a real game changer. We love Feathered Friends Down Booties because they’re super warm and they have a removable weather-resistant shell, so you can wear them around camp and in your bag. For particularly chilly trips, we also bring the NEMO Switchback closed-cell foam pad to throw under our Therm-a-Rest for extra insulation.
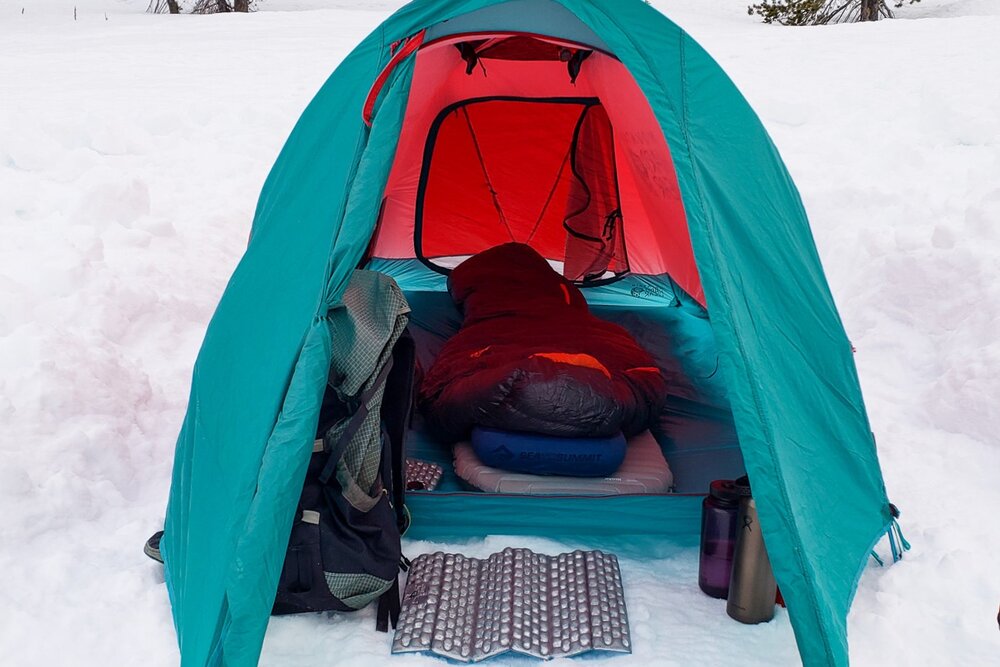
A foam pad, like the NEMO Switchback, can be used with an air pad to maximize the warmth of your sleep system.
7. Insulate yourself from the snow when inactive – A lightweight closed-cell foam sleeping pad, like the NEMO Switchback, can be used in conjunction with an air pad to maximize the warmth of your sleep system, but it’ll also come in clutch when you’re outside of your tent. Standing, sitting, and kneeling on a foam sleeping pad or sit pad avoids direct contact with the snow and prevents heat loss.
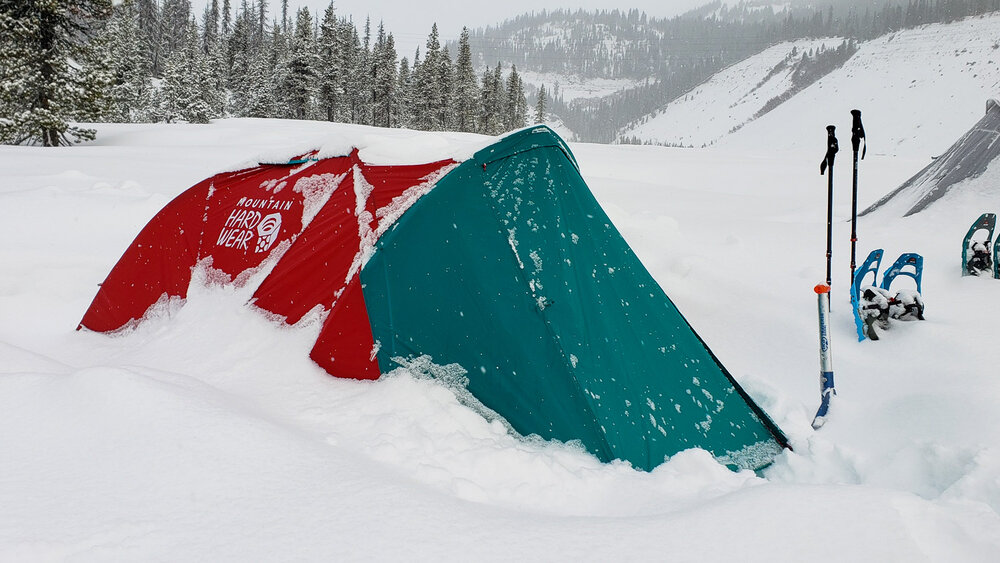
the Mountain Hardwear Trango 2 is a bit heavy & has less headroom, but it’s strength & weather protection are excellent for winter trips.
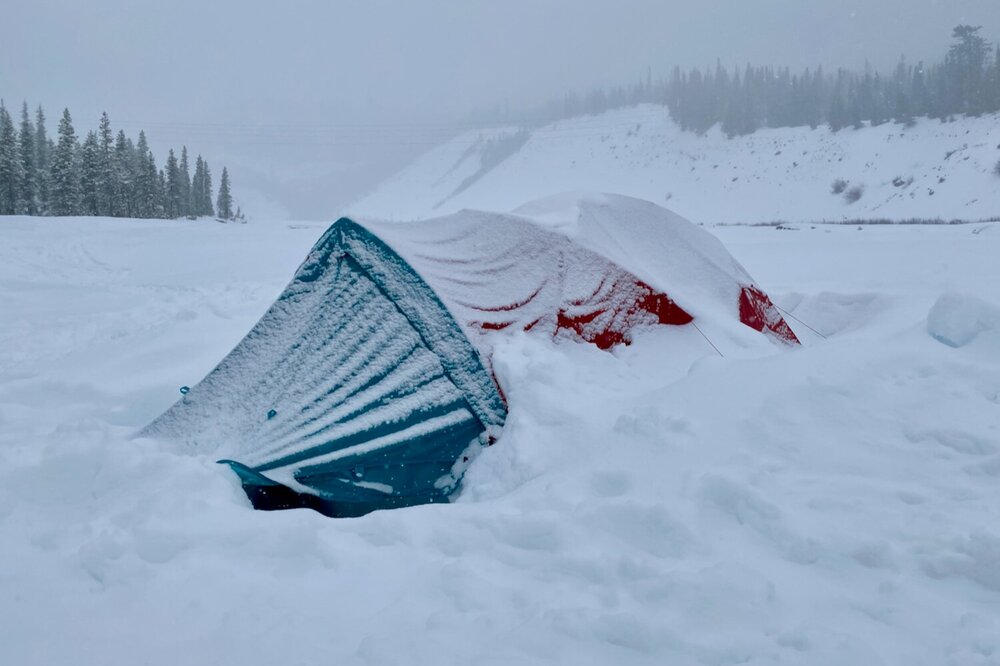
8. Use a 4-Season tent – Winter camping requires a strong tent with stout poles and thicker fabric that can withstand strong winds and the weight of a snow load. Snow is very heavy, and even a thin layer of it weighs enough to buckle many 3-season backpacking tents. 4-season tents are usually heavier, have less headroom, and aren’t as breathable as 3-season tents, but the superior durability and protection they provide is worth the tradeoff in harsh winter conditions. We recommend the Mountain Hardwear Outpost 2 and Trango 2, which have a great balance of weight, strength, and weather protection. If you’re looking for an ultralight tent that can be used year-round, the Hyperlite Mountain Gear Ultamid 2 is a great option, though it takes a little practice to set up since it’s not freestanding.
The Mountain Hardwear Outpost 2 has ample headroom, a great vent system & a large front vestibule to keep gear out of the snow.
9. Prevent important stuff from freezing – The temperature drops dramatically once the sun goes down, leaving drinking water, wet clothing, boots, and liquids (sunscreen, etc.) susceptible to freezing. Batteries also tend to function poorly in sub-freezing temperatures, so you’ll want to keep your electronics (like your phone and headlamp) in a warm pocket close to your body to prevent them from becoming useless. We keep small items under our hats or in inner jacket pockets during the day, and use trash bags or waterproof stuff sacks to store important wet gear close to our bodies in our sleeping bags at night. You can also tuck damp items, like socks and liner gloves, between your skin and your base layers to dry out. This is slightly uncomfortable, but it’s much better than putting on frozen clothes in the morning!
avalanches can occur on any slanted surface in the right conditions, so it pays to be aware and know your stuff
10. Know avalanche safety basics – Avalanches are masses of snow that flow rapidly down a hill or mountainside after being triggered, and they’re one of the biggest threats to winter backcountry travelers. It’s important to know how to spot the red flags of avalanche danger so you can avoid putting yourself and others in a dangerous situation. That said, avalanches usually happen on steep slopes and are much less likely on gentle aspects. So if you’re just getting started with winter travel and camping, you can gain some experience without worrying about avalanche danger in areas with flat or rolling terrain. Take a look at your map before you head out. If your route traverses steep terrain, you should carry an ice axe and know how to self arrest. Avalanches can occur on any slanted surface in the right conditions, so it pays to be aware and know your stuff.
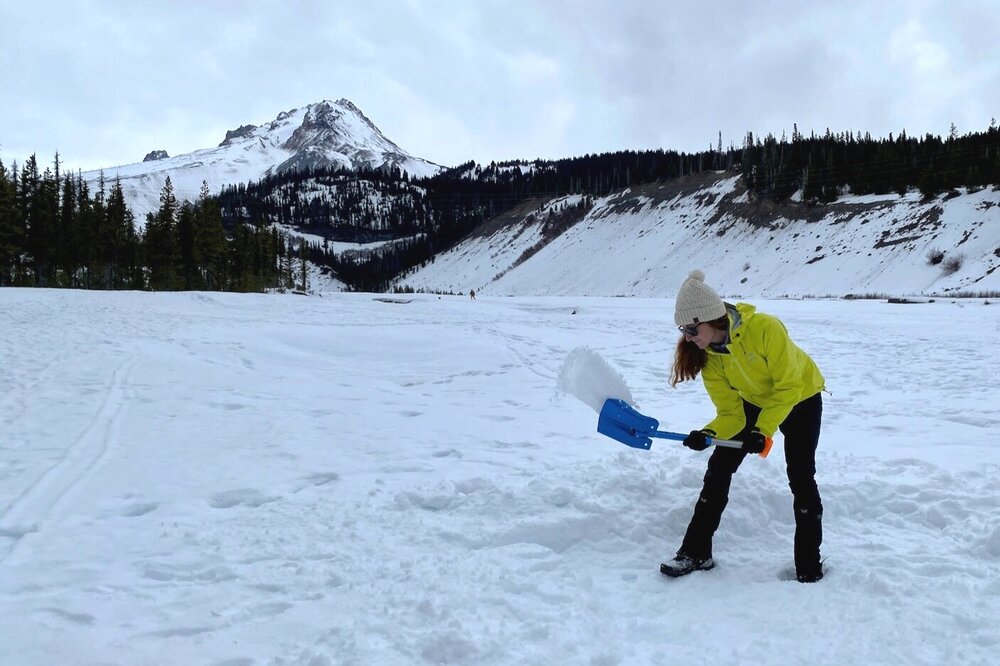
A lightweight shovel, like the Backcountry Access B-1 EXT Bomber, is an essential tool for the winter camp.
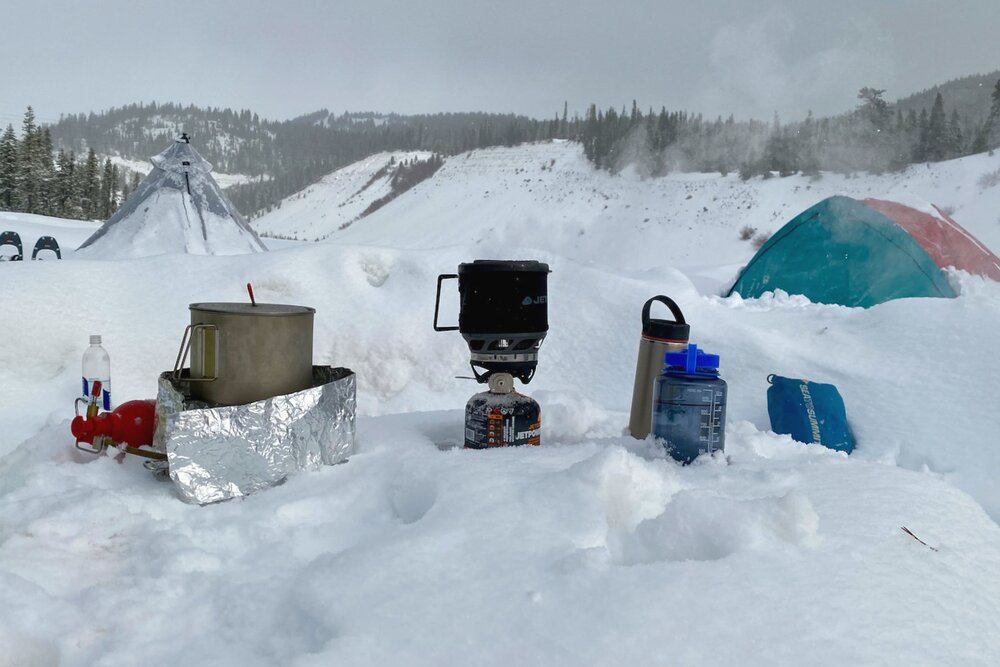
11. Take a shovel – A lightweight snow shovel is one of the most essential items for winter camping. Having a shovel could save lives in an avalanche situation, but it can also be used to level and pack tent sites, build a snow shelter, and create a group hangout area to cook and gather in. The blade of your shovel can also be used as a platform to stabilize your stove. The sky’s the limit when it comes to designing your snow camp, and it’s a lot of fun to build elaborate camps as a group with features like a cooking area with a counter and a seating area with a wind block.
The sun can be really intense on snow camping trips, so make sure to protect your skin & eyes with sunscreen & sunglasses.
12. Wear sunscreen and sunglasses – Don’t underestimate how powerful the sun is, even during the winter. The sun can be extremely intense at high elevation, and it’s magnified as it reflects off the bright, white snow. Sunburns and eye injuries are common pitfalls of winter adventures and the damage can last a lifetime. Thankfully, these hazards are easy to prevent with a bit of diligence. Apply a high-SPF sunscreen to your face, lips, and any exposed skin every day. Protect your peepers with quality sunglasses, preferably some with coverage at the sides.
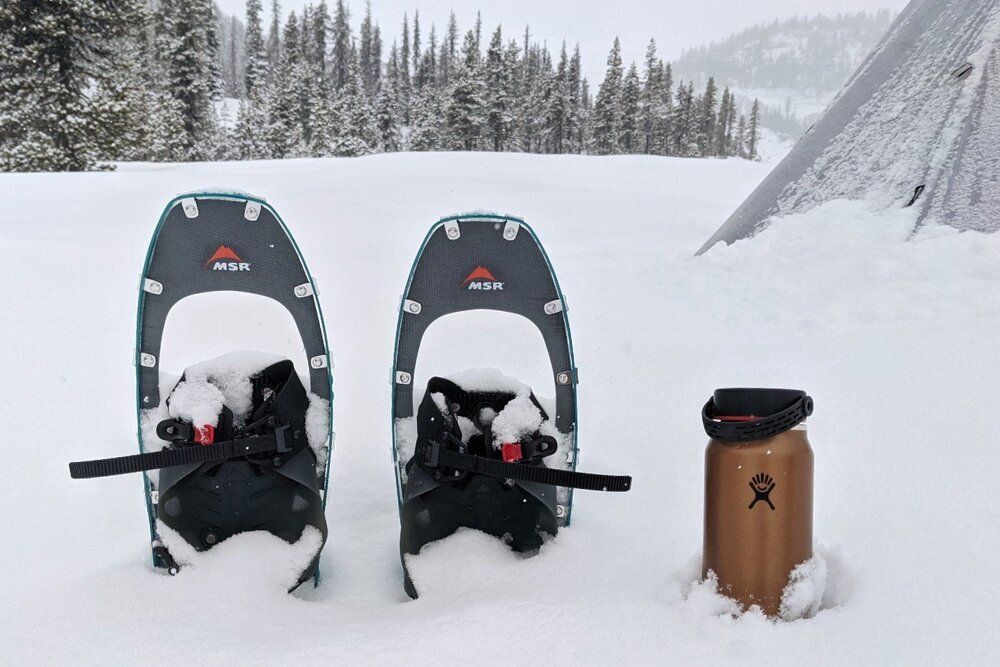
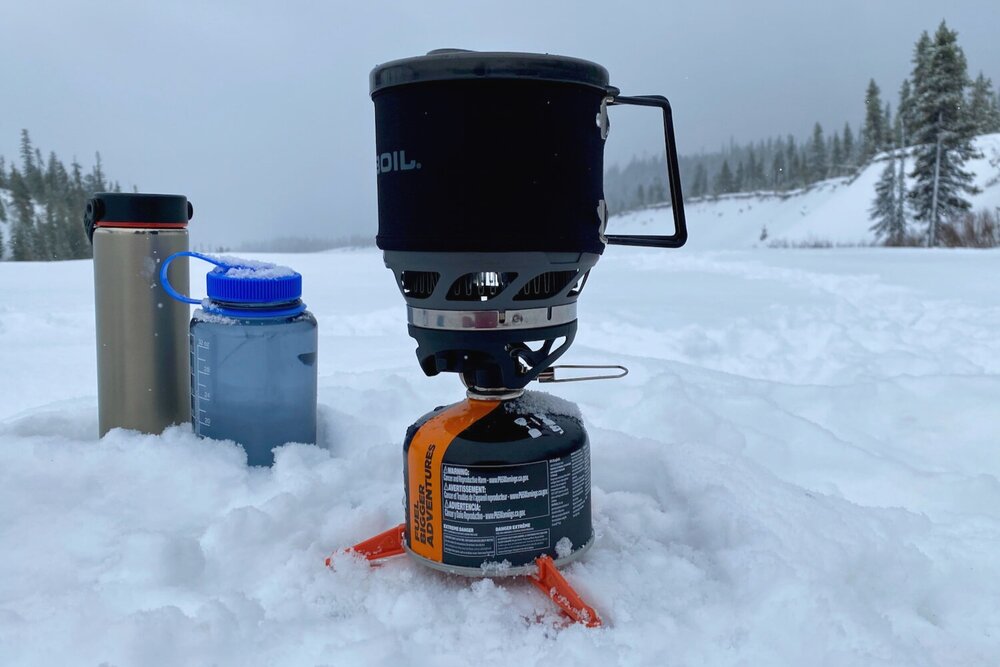
An insulated water bottle, like the Lightweight Hydroflask is a luxury item you won’t want to live without on winter camping trips.
13. Eat, drink, and be merry – A hydrated and well-fed body is far better at staying warm. And, you’ll be burning a ton of calories while winter camping, so it’s a great time to indulge in your favorite rich foods. Keep your metabolism firing on all cylinders by eating plenty of snacks throughout the day and chasing them down with several liters of water. A hearty dinner and a high-calorie snack at bedtime will help keep you nice and toasty. Just remember, food weight adds up quickly, so be choosy about what you bring. Check out our Best Trail Food Guide for all the meal-planning tips you could ever need. If you tend to get cold easily, sipping warm beverages will warm you from the inside out. Consider bringing an insulated water bottle, like the Lightweight Hydroflask, and plenty of stove fuel so you can keep the hot drinks flowing. Learn which stoves work the best in the snow on our Winter Camping Checklist page.
A Nalgene bottle makes an excellent space heater for your sleeping bag.
14. The hot water bottle trick – A plastic water bottle with a screw-top lid, like a Nalgene, makes an excellent space heater for your sleeping bag. Boil a liter of water, pour it in, and you’ve got a new winter camping snuggle buddy… just make sure your bottle is heat-resistant and always test the lid for leaks before you get it anywhere near your sleep sack. Place hot water bottles in strategic areas where deep blood vessels pass close to the surface of the skin, such as the groin, hands, feet, or armpits for rapid warming. Make sure your water bottle is BPA-free, so you can drink the water in the morning without harmful chemical leaching.
Stay busy & upbeat on winter camping trips to combat the cold.
15. Have a good attitude – Having a positive outlook and a sense of humor makes hiking in cold winter conditions much more enjoyable. You might be a bit uncomfortable at times, but trips with challenges tend to be some of the most memorable. An extra dose of enthusiasm will go a long way to lifting you and your campmates’ spirits. If you’re struggling to stay warm, keep in mind that you can always adjust your clothing, get moving, take a break to make a hot beverage, have an impromptu dance party, or hop in your sleeping bag if you need to.
Check out our Winter Camping Checklist for more details on gear that performs well in the cold
WINTER CAMPING GEAR
Not all gear performs well in the cold. Check out our Winter Camping Checklist for recommendations for the best 4-season tents, sleeping bags, sleeping pads, stoves, headlamps, clothing, and more to get ready for your next winter adventure.
The Mountain Hardwear Outpost 2 is one of the best 4-season tents on the market for weight, strength & livability.
ADDITIONAL RESOURCES
We hope you’ve enjoyed these basic winter camping tips. If you want to know more, we suggest taking a deeper dive. Snow science is fascinating! We’re big fans of Allen & Mike’s Really Cool Backcountry Ski Book, which is a fun and engaging resource full of hilarious cartoon drawings that teach about snow safety, winter camping, how to build snow shelters, and the ins and outs of backcountry skiing. You may also like some of our other content that’s relevant to winter camping:
-
Crossing Snow – Ice Axe Self-Arrest HD Tutorial Video
-
Backpacking & Hiking Clothing 101: Tips for Creating the Perfect Ultralight Clothing System
-
CleverHiker Food Guide – Backpacking Food 101, Best Freeze Dried Meals, DIY Meal Recipes, & more!
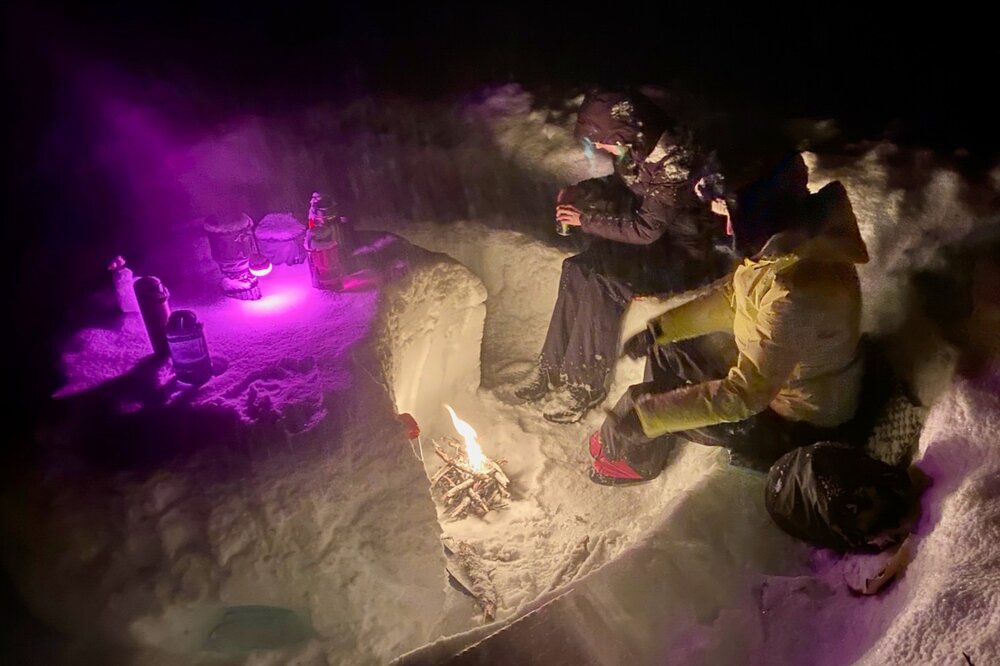
Gathering in our snow kitchen in the evening for food, hot drinks, and good conversation.
Need More Gear Advice?
If you liked this list, you’ll love the CleverHiker Gear Guide where we test and recommend tons of outdoor adventure gear from a variety of categories. here are some links to popular articles:
Some of the links on this page are affiliate links, which means we may receive a small commission if purchases are made through those links. This adds no cost to our readers and helps us keep our site up and running. Our reputation is our most important asset, which is why we only provide completely honest and unbiased recommendations.

